Are you a marketer ready to start your own social media marketing agency? Or perhaps you're looking for ways to grow your business - but don't know where to start?
Either way, I am here to help! In this post, I'm sharing you how to start a social media marketing agency, so grab a coffee and let's get started!
How to build a social media marketing agency
You may think that you need to have a professional degree or years of marketing experience to get started. In fact, anyone can start a social media marketing agency - but to get started you just need to understand how a marketing sales funnel works.
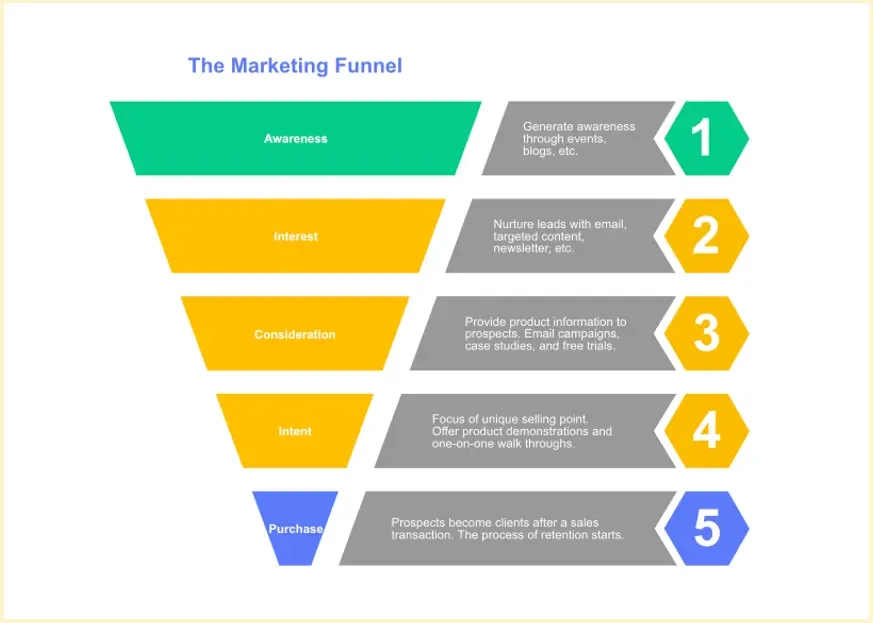
A marketing sales funnel is your blueprint for building your strategy. Below is a simple 5 step sales funnel you can master even as a beginner:
How to create your own marketing sales funnel
Decide how you're going to build awareness about your brand
The first step is thinking of a client attraction mechanism. Ask yourself: How will I attract new people who have never heard of my brand? A simple answer is: Go where your potential buyers are.
Whether it's Instagram, YouTube, or live events - you need to know exactly who your audience is and where they spend most of their time.
- Publish blog posts that rank on Google search
- Run targeted ads on Facebook/Google
- Host live events & network with your local businesses
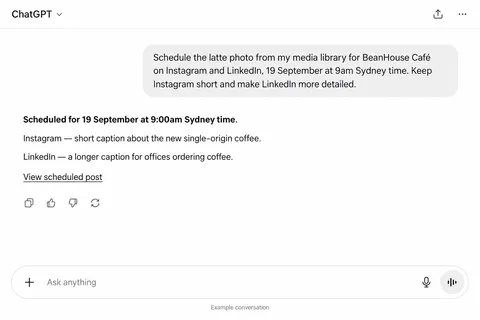
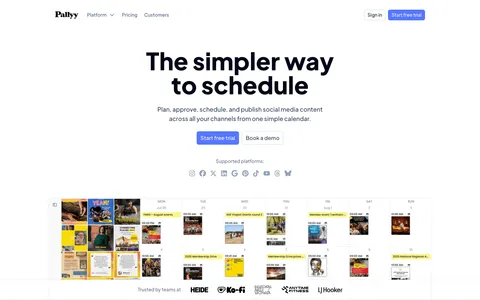
- Schedule content on social media
Find ways to spark people's interest in your services
The next step is to capture interest. Ask yourself: How will you build interest in your services and stand out against competitors? You can build interest by having a unique selling proposition, nurturing your leads with emails, focusing on targeted content, and being approachable.
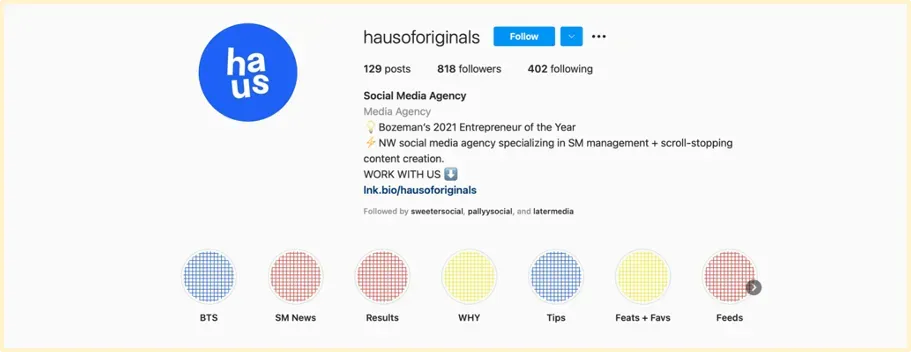
Example: Haus of Originals makes it clear in their Instagram bio that they specialize in “SM management + scroll-stopping content creation”.
Show social proof of how your services help your clients (Intent stage)
Make your offer super relevant to your audience by sharing info on services you provide, price lists, customer testimonials, and case studies of past work you have completed.
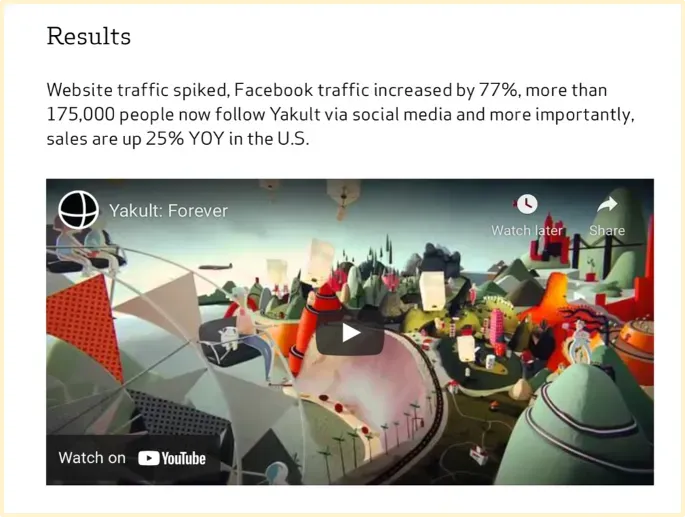
Example: Lewis highlights client case studies and marketing campaign results on their website
Keep your audience engaged (Consideration stage)
Everyone knows that engaged followers are more likely to buy. So how do you keep your audience engaged? Share content that is relevant to their buyer journey, and ask them questions to understand how your service can help them.
Example: SamSocial asks her audience questions on Instagram stories regularly. This helps her get feedback on her services but also creates a relationship with her audience making sure they are active.

Purchase & After sales
Now that you've signed up your client, your after-sales process needs to match your promise. Ask yourself: How do you build trust so your audience buys and recommends you to others?
- Deliver great service
- Don't overcharge your clients
- Be reliable and keep your promise
- Don't miss or extend deadlines
- Help them reach their goals
You don’t need a lot of money to run a social media marketing agency
Planning the budget is going to be the most difficult and time-consuming task in starting a social media marketing agency. The good news? You don’t need a lot of money to start a marketing agency.
Tip: The better you understand your cost, the more effective your pricing structure will be.
The basic costs
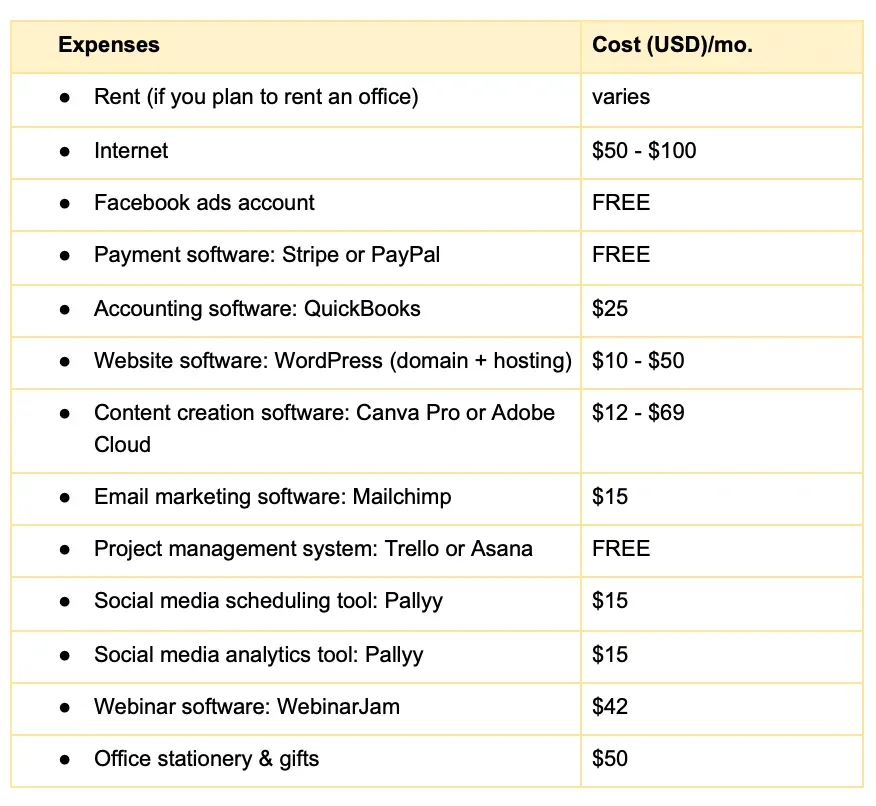
Agency costs typically include: Incorporation costs (legal fees, incorporation, etc.), operating costs (equipment, subscriptions, rental, internet etc) and Staff or outsourced contractor salaries (if any) Here is a table of common social media marketing agency operating costs you can use as a guide:
Tip: Always leave a small allocation for miscellaneous costs that you might incur.
Specialization is key to attracting high paying clients
Just think about this: There are thousands of social media marketing agencies out there. So what makes you special? Why would someone choose your social media agency?
That's why it's good if you can specialize in an industry:
- Beauty
- Tech
- Food
- Sports
- Financial Services
- E-commerce
Or in a particular area of marketing:
- Social Media Ads Expert
- B2B marketing
- Content Marketing
Or in a social platform:
- YouTube
- WordPress
Tip: Don't worry if you're not an expert in social media marketing. You can always take an online course to get certified in most marketing skills. Remember, the more specialized you are, the higher prices you can charge for your services.
Create a list of services
Ask yourself: What services am I going to offer in my agency? Decide on which services you are going to offer and then create price lists for each of your services. Here are some services to consider:
Content creation
- Photography
- Graphics
- Videos
- Copywriting
Paid advertising
- Facebook ads
- Instagram ads
- Google ads
- Twitter ads
- TikTok ads
Social media management
- Develop a monthly content plan
- Scheduling content on multiple platforms
- Community engagement
- Tracking growth and analytics
Marketing Consulting
- 1:1 consulting
- Group training
- Advisory services
- Live seminars
How to price your social media marketing services
For the going rates, three example packages with prices and a cost-out worksheet, see our full guide to social media management pricing. In short, there are 3 main methods for pricing services:
Charge a monthly retainer fee
This is a fixed monthly fee for repeated services. For example, monthly management of 3 social media channels can be priced as a recurring fee.
Project-based pricing
You can charge a fixed fee for one-off projects. For example, for developing a social media strategy, doing an Instagram audit, or a custom video shooting.
For project-based pricing, it’s common to set payment milestones, such as 50% down payment and balance 50% upon full delivery of a project.
Hourly rate
Even though you shouldn't price your services based on an hourly rate, it’s important to have this rate ready-in case you need it. You can charge an hourly fee for projects that exceed the time frame (eg: overtime work) or if your clients require additional consultation.
Charge for additional revisions
I would recommend writing in your contract the number of revisions included in your monthly/project fees. This is to safeguard yourself in case you meet a client that keeps rejecting your work and asks you to do extra revisions. So have this fee ready!
Example: In my content creation services I allow up to 2 revisions - after which I charge a flat fee for each extra revision.
How much profit margin do marketing agencies make?
Based on my research, the average profit margin for an agency in 2021 is 20%-30%. Depending on your specialization and niche that you're servicing a 50% margin could be justifiable - but most people consider it too high.
New marketers and freelancers can also charge 5%-10% but that is considered very low and unsustainable in the long run.
Tip: Do market research to find out what services does your target audience needs the most. Then, create tiered packages for your services.
You don’t need to work more to increase sales
You just need to work smart! Successful social media marketing agencies automate their Sales Process to convert leads to clients on autopilot. Here’s how you can do it too.
Create a free digital product
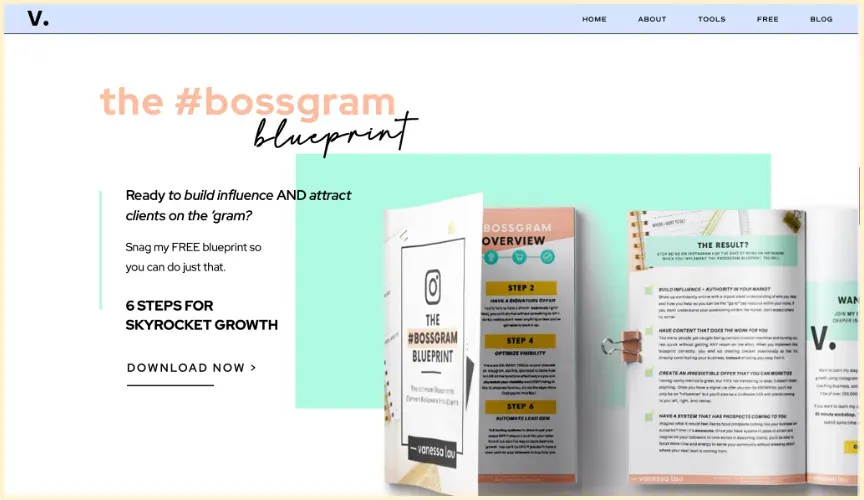
Digital products are a great way to collect leads. Format: e-book, guide, video lesson, worksheets.
Example: Vanessa Lau created a free PDF “the #bossgram blueprint” to collect leads
Host a Webinar
Get people who have downloaded your freebie to attend a free webinar training. This will help nurture and convert your email list subscribers. Software: WebinarJam.
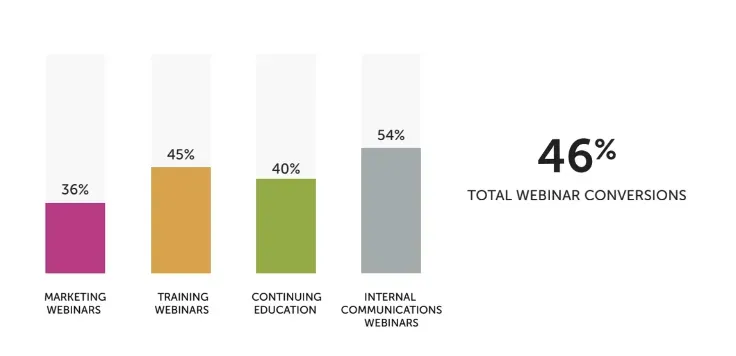
Why use webinars? Over 46% of webinar attendees typically convert into customers (Neal Patel)
Talk about your paid offer
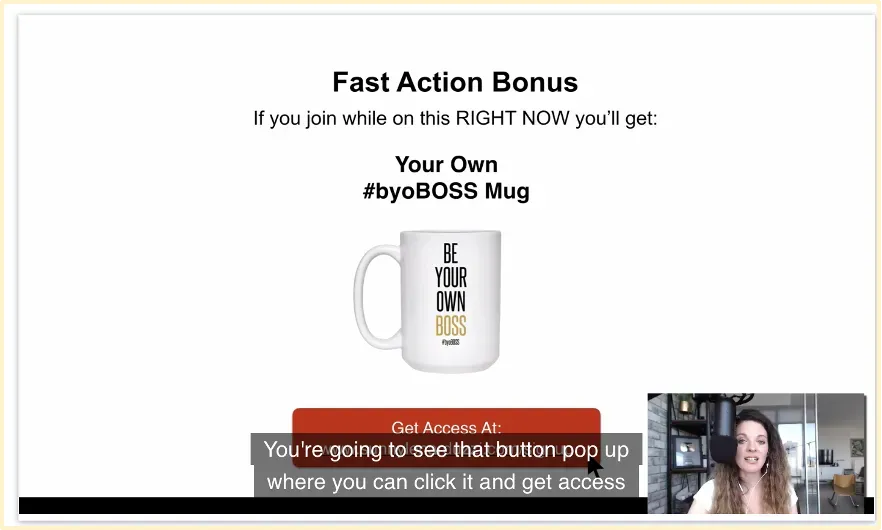
Sunny Lenarduzzi uses the last 10 min in her webinar to promote her YouTube course and sell paid memberships.
Follow up with an email sequence
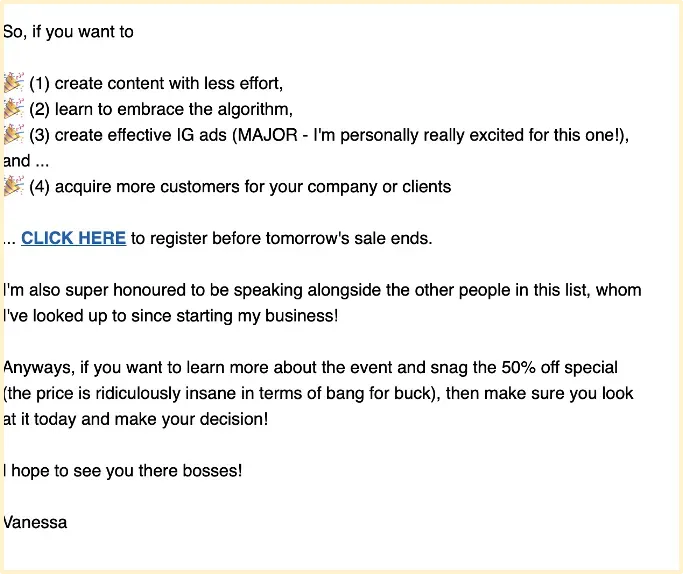
After the webinar, follow up with an email sequence. Don't do it too soon! Wait 1-2 days and then continue to nurture your leads. Here are some tips to increase your email conversions:
- Send a 5-7 emails sequence
- Talk about your clients transformations
- Create urgency to buy in the last 2 emails Example: “Offer ends soon”
- Offer a discount for early birds
Happy clients are your best salespeople
Your existing customers are your best promoters. But don't just take my word for it. Here are 3 reasons why you should adopt a client-centered marketing strategy for your social media marketing agency:
It’s easier to sell to existing clients than to attract new ones
It’s up to 25 times more expensive to acquire a new customer than to retain and satisfy an existing customer. (Harvard Business Review)
Retaining customers increases their lifetime value
It’s 16 times more expensive to bring a new customer up to the same level as a current loyal customer. (Small Business Trends)
Loyal customers will refer their friends
Customer referrals come in a variety of forms, including: word-of-mouth recommendations, social media posts and comments about your brand and positive reviews and testimonials are posted on public pages for anyone to see
Starting a social media marketing agency is a journey of learning and discovery. You don’t need to be a marketing expert, work more hours or invest a lot of money. You have all the tools and information you need. All that is left to do is get started! 🎉