To schedule social media posts with MCP, connect your scheduler to an AI assistant, then describe the post you want. MCP (Model Context Protocol) lets the assistant use your scheduler's tools to create drafts or schedule posts.
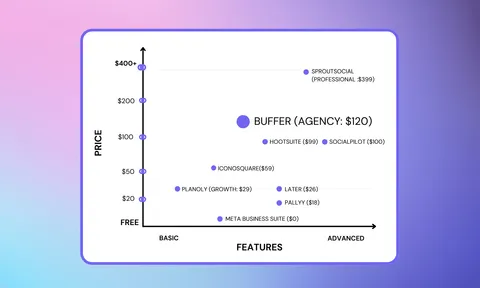
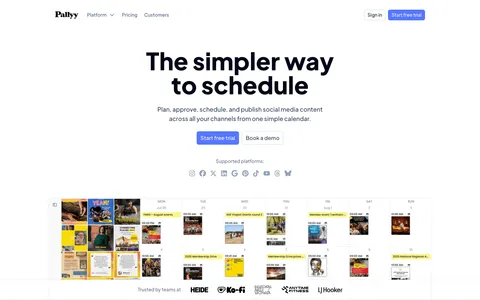
You'll need a social media scheduler with an MCP server, such as Pallyy's MCP. Compare social media MCP servers to check which tools and permissions each supports.
What you need
- Claude, ChatGPT or Cursor with access to MCP connections.
- A scheduler whose MCP server supports posting, with your social accounts connected.
- Your photo or video in the scheduler's media library, or at a public URL it can import.
Step 1: Connect your scheduler
Copy the MCP server URL from your scheduler's setup guide, then add it to your AI app.
Claude: open Settings > Connectors, find your scheduler in the directory and click Connect. If it isn't listed, choose Add custom connector and enter its server URL.
ChatGPT: turn on Developer mode under Settings > Security and login. Open Plugins, select the plus button, and add the server URL. Availability depends on your account and workspace settings; see the ChatGPT connection guide.
Cursor or Claude Code: add the server using the Cursor MCP guide or Claude Code MCP guide, along with your scheduler's authentication instructions.
Complete the scheduler's sign-in flow, then enable the connection in your conversation. Some servers use an API key instead; follow that scheduler's instructions.
Step 2: Review its permissions
Check which accounts the connection can access and whether it can publish.
Some schedulers offer separate draft and publishing permissions or let you limit access to specific accounts. Others grant broader access. Review the permissions shown before approving.
For your first attempt, ask for a draft and check it yourself. Where available, draft-only access also prevents the assistant from scheduling it.
Step 3: Ask for a draft
Include the account, networks, media, date, time and timezone in one message:
Create a draft for BeanHouse Café on Instagram and LinkedIn using the latte photo in my media library. Set it for 19 September 2026 at 9am Sydney time. Keep Instagram short and make LinkedIn more detailed. Don't schedule it to publish yet.
If the server supports media-library access and drafts for both networks, the assistant can prepare each caption using your photo. Check that the posts are saved as drafts, even if you've given them a date.
Step 4: Check and schedule it
Open the draft in your scheduler. Check the accounts, captions, media, date and timezone, then schedule it.
If the connection has publishing permission, you can also ask the assistant to schedule the draft after reviewing it. Confirm its status is Scheduled in the calendar.
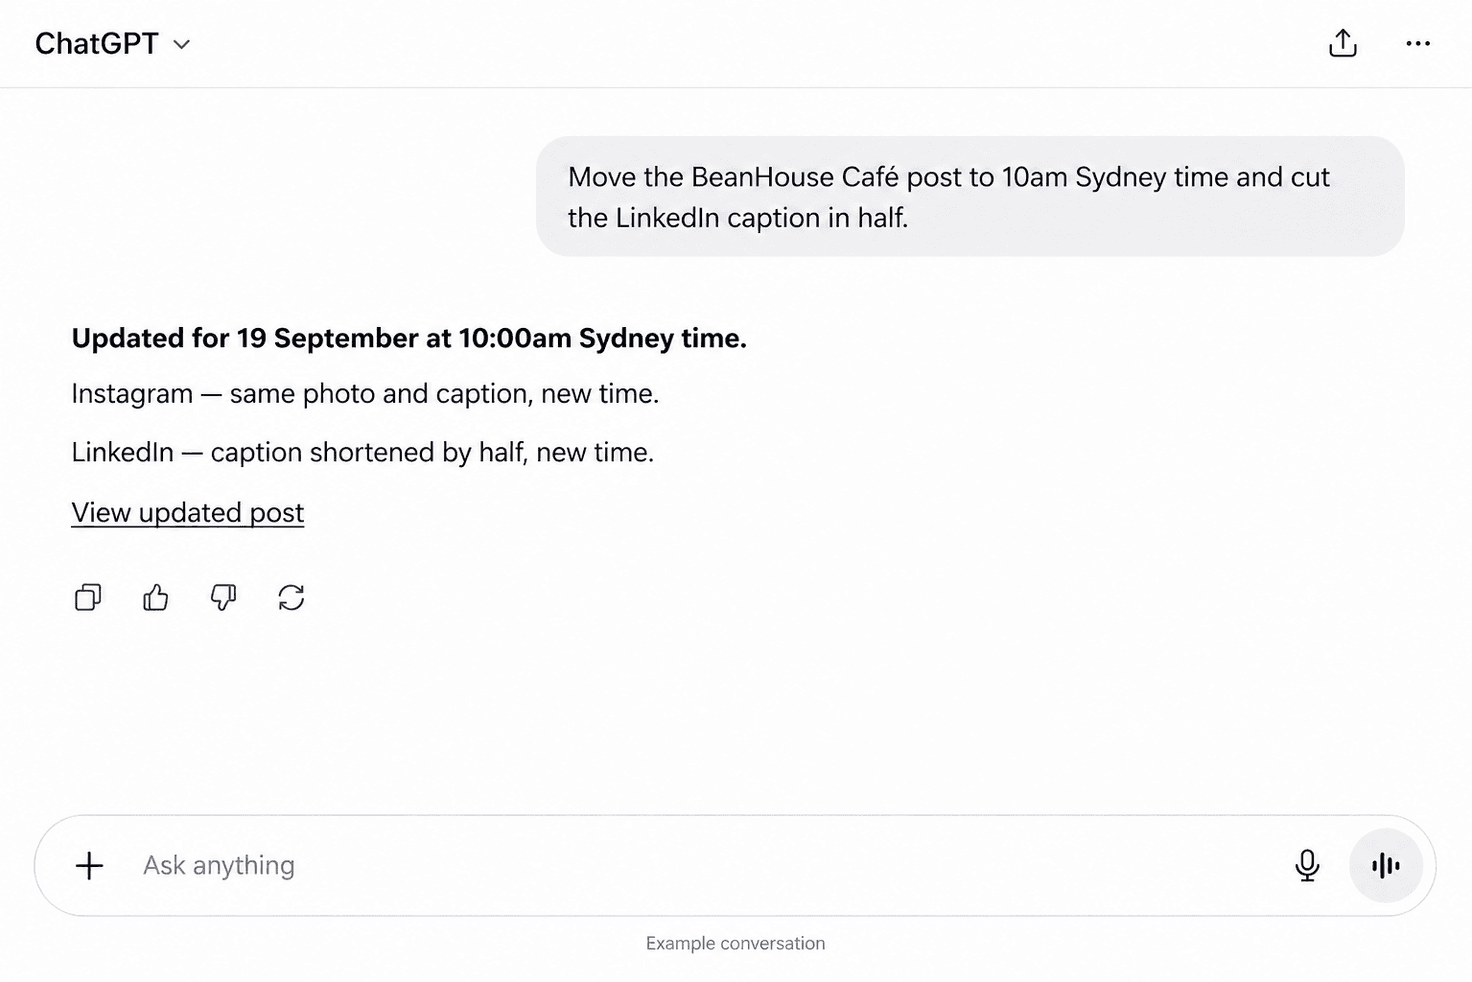
Need a change? Ask “move it to 10am Sydney time” or “shorten the LinkedIn caption,” then check the result.
Scheduling with MCP FAQ
Can ChatGPT schedule social media posts?
Yes, if your account supports the MCP connection and your scheduler exposes scheduling tools. Connect the server, enable it in the conversation and grant the required permissions. The scheduler handles publishing.
Can I schedule several posts at once?
If your scheduler's tools support it, ask for a batch: 'Create a Threads draft for each weekday at 8am Sydney time next week using these five ideas.' Check each draft before scheduling.